A while ago I read about these cheap IP cameras that could be modified. Modified in a sense that the camera no longer connects to the Xiaomi servers and that we can hook it up to our own systems. In my case that would be Home Assistant.
The camera can be bought at some Chines sites for around 20 euros. Just search for ‘xiaomi xiaofang 1s’ or ‘xiaomi dafang’ and you will find several suppliers. Beware that not all types can be modified, please check EliasKotlyar/Xiaomi-Dafang-Hacks for the right type en version. The type I bought came in two versions (T20/T20L), luckily I got the supported version.
So I bought the cheap Xiaomi IP camera, tried to follow the instructions to install the bootloader and got stuck. I thought I “bricked” my new camera until I stumbled upon the instructions to reset the camera.
Resetting the Xiaomi Dafang camera
The instructions from GearBest guide you through the reset procedure and the default installation. Just the reset procedure contains the following steps:
- Shut of the power and reconnect it to the power again.
- Press the setup button or use a pin pushed into the setup hole and keep pressing it until you see the status light turns off and flashing again.
- Shut of the power and reconnect it to the power again.
- Wait until the yellow light flashes and again press the setup button or use the pin. Keep pressing it until you hear a Chinese voice. Then release the setup button.
At this stage you can use the standard Xiaomi setup or go for the Custom FirmWare (CFW).
Install the CFW
The instructions on Elias Kotlyar’s Xiaomi-Dafang-Hacks pages are very clear but do read through the FAQ and the installation procedure before you start.
The CFW works in a very elegant way, the only thing that is changed on the camera is the bootloader. With “CFW”-microSDcard it boots the CFW, without it it behaves just like a non-modified Xiaomi camera.
The “hack” can be roughly divided into the following steps:
- Prepare the SD-card
- Install the bootloader
- Install the CFW-files
- Upgrade the CFW
- Configure the CFW
Prepare the SD-card
I’m not sure what went wrong in my case but I could not get the bootloader working. In my second attempt I followed the instruction more precise by creating a bootable microSD card with just a single 512 MB partition.
To format the microSD card on my Mac I used diskutil list to get the diskid of the microSD card. In my case it was ‘disk3’. With the following command the microSD card can be formatted to a single 512 MB partition while the remaining space is just free space.
diskutil partitiondisk disk3 MBR FAT32 DAFANG 512M "Free Space" FAT32 R
The instructions state that the microSD only contains the “bootloader”-file. MacOs has the nasty habit of writing ‘hidden’ files to your external volumes. I used the following command to disable the creation of the search-index files and remove the unwanted ‘._'-files.
Disable indexing on the microSD card
mdutil -i off /Volumes/DAFANG
Erase index
mdutil -E /Volumes/DAFANG
Remove the ‘._'-files
dot_clean /Volumes/DAFANG -m
The dot_clean command removes all ‘._'-files recursively from the regular directories but it fails on the ‘.Spotlight-V100’ and ‘.Trashes’ directories with a message Failed trying ... Operation not permitted.
The macOS operating system is still very resilient in creating ‘hidden’-files on you microSD card. I could net get rid of all ‘hidden’-files but got it working.
Now download the CFW-binary for your camera from the installation-page. You can use the images from the Xiaomi-Dafang-Hacks-page to determine which camera you have.
Rename the file from something like cfw-xxx.bin to demo.bin and copy it to you microSD card.
Install the bootloader
Now it’s time to install the new firmware to enable the camera to boot from the microSD card.
- Power-off the camera by unplugging the cable.
- Insert the newly created microSD card with the ‘demo.bin’-file.
- Hold down the setup-button
- Power-on the camera
- Hold down the setup-button for another 10 seconds
- Wait until the firmware has finished flashing (like 3 minutes). If you have a model with a motorized base the base will start moving. My camera the ‘Xiaomi Xiaofang 1S’ with T20 has no moving base, I waited 3 minutes …
- Power-off the camera
- Start the camera once more without the microSD card to verify that the blue led will be shining for 5 seconds. If you do not see the blue led you should try another microSD card, look at the community tips or start over from step 1.
The installation instructions advice you to do step 8, if you are confident you can skip it and move on to installing the CFW-files.
Install the CFW-files
- Clone the repository from Github or download the repository as zip. Beware of windows line endings as it is a Linux based system.
- Copy everything from “firmware_mod” into the root of the microSD card. No need to remove the ‘demo.bin’ file.
- Copy
config/wpa_supplicant.conf.disttoconfig/wpa_supplicant.conf - Modify the file
config/wpa_supplicant.confon the microSD card to match your wifi-settings. Make surewpa_supplicant.confdoes not have windows line endings. - Insert the microSD card and power up the camera.
- You can now login at https://dafang or your cameras ip adress with the default credentials username: root with password: ismart12.
Note: The security warning about the unsafe https certificate can safely be ignored. A self-signed certificate is automatically generated on your camera during the first startup.
Note2: Changing the password in the web interface only changes the password for the webinterface.
Upgrade the CFW
Log into the webinterface of your camera wth the default username and password.
- Go to ‘Configuration/Administration’ and change the default password
- Next, go to ‘System/Update’ and upgrade the firmware.
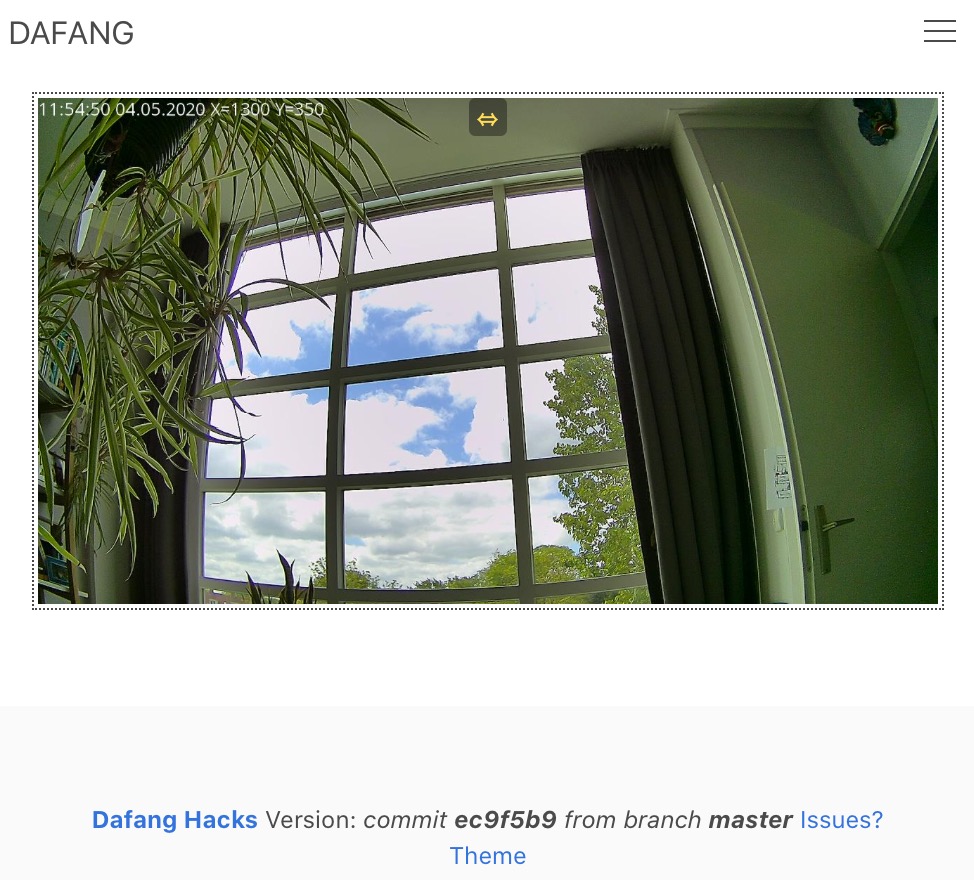
Your camera will reboot and the message at the bottom of the webinterface will show the CFW-version (See the screenshot below).
Enable the RTSP-H264
To see the camera stream in Home Assistant or on a Synology NAS the RTSP-H264 service needs to be running. Verify that the service is running via ‘System/Services’. If not start the service and set ‘autorun’ to enabled.

Configure the CFW to enable MQTT
When you visit the ‘System/Services’ page you will see that the MQTT services are not yet running.

To control the camera from Home Assistant we need to enable MQTT on the camera. A template is already available in the ‘config’-directory.
You can do this remotely via Telnet (first enable the service) or power-off the camera, take out the microSD card and modify it on you computer.
I made the modifications in the cloned repository on my computer and copied the files over to the microSD card. This gives you a back-up copy in case something happens to the microSD card (not very uncommon …)
- Copy
config/mqtt.conf.disttoconfig/mqtt.conf - Modify the file
config/mqtt.confto match your MQTT-settings. Configure the ‘location’ and ‘device_name’ and uncomment the ‘autodiscovery_prefix’. Make suremqtt.confdoes not have windows line endings. - Copy the
config/mqtt.confto your microSD card.
############################################################
# edit this file and move it to /system/sdcard/config/mqtt.conf #
############################################################

export LD_LIBRARY_PATH='/thirdlib:/system/lib:/system/sdcard/lib'

# Options for mosquitto_sub & mosquitto_pub
USER=[MQTT user name]
PASS=[MQTT user password]
HOST=[MQTT host IP-address]
PORT=[MQTT port, default 1883]

# Define a location
LOCATION="[Location of your camera]"

# Define device name
DEVICE_NAME="DAFANG"

# Define the base topic used by the camera
# send a message to myhome/dafang/set with the payload help for help.
# Results will be placed in myhome/dafang/${command} or topic/dafang/error - so please subscribe topic/dafang/# for testing purposes
TOPIC="$LOCATION/$DEVICE_NAME"

# Define an autodiscovery prefix, if autodiscovery is desired:
AUTODISCOVERY_PREFIX="homeassistant"

# Define additional options for Mosquitto here.
# For example --cafile /system/sdcard/config/DST_Root_CA_X3.pem --tls-version tlsv1
# or use a special id to connect to brokers like azure
MOSQUITTOOPTS="-V mqttv311"

# Add options for mosquitto_pub like -r for retaining messages
MOSQUITTOPUBOPTS=""

# Send a mqtt statusupdate every n seconds
STATUSINTERVAL=30

# Define whether you would like to have light level exposed (by hardware sensor og virtual calcuations).
# If the device doesn't come with a hardware sensor, your only option is to use 'virtual'.
#
#  Options:
#     hw = Use 'hw' if the device has build in hardware light sensor. For more details, see . See issue eg. #1120 for more details...
#     virtual = Use 'virtual' calculations, based on the lightlevel on the image, also known as ISP exposure (from /proc/jz/isp/isp_info)
#     false = Use 'false' (default) to DISABLE the topic (It will not publishing details about light level)
LIGHT_SENSOR="false"
Disclaimer: The file above is from a version of the software I used at the time of installation, I noticed some differences in newer releases.
Put the microSD card back into the camera and power it on. Go to ‘System/Services’ and start the MQTT services and enable ‘autorun’.
With the ‘auto discovery’ enabled you can now control your camera from within Home Assistant.
Enable the RTSP-H264 stream by adding the following lines to your Home Assistant config file:
camera:
  - platform: ffmpeg
    name: DaFang
    input: -rtsp_transport tcp -i rtsp://dafang:8554/unicast
Alternatively, you can use the camera’s CGI endpoint to serve a single picture using the Generic IP Camera component. This is significantly lighter on the home assistant’s CPU.
camera:
  - platform: generic
    name: DaFang
    username: root
    password: ismart12
    authentication: basic
    still_image_url: https://dafang/cgi-bin/currentpic.cgi
    verify_ssl: false
    scan_interval: 5
Configure the CFW to enable motion detection
To configure motion detection and sending MQTT detection messages we need modify the the file ‘confguration/motion.conf’ on the microSD card.
As with the MQTT configuration I made the modifications in the cloned repository on my computer and copied the files over to the microSD card.
Before you modify the content determine where you want to store your files, the microSD card is not the best place for that. Other options are SMB-shares or FTP-servers.
- Copy
config/motion.conf.disttoconfig/motion.conf - Modify the file
config/motion.confto define how you want to act on motion detection. - Copy the
config/mqtt.confto your microSD card.
Boot the camera with the microSD card and configure the ‘region_of_interest’.
###################################################################
# edit this file and move it to /system/sdcard/config/motion.conf #
###################################################################

# Enable verbose debug messages to stderr
debug_msg_enable=false

# Configure the motion core parameters:

region_of_interest=0,0,1280,720
motion_sensitivity=2
motion_indicator_color=2
motion_timeout=-1
motion_detection=on
motion_tracking=off

# Configure how to deal with motion events:

motion_trigger_led=true
publish_mqtt_message=true
publish_mqtt_snapshot=true
publish_mqtt_video=false
send_email=false
send_telegram=false
telegram_alert_type=image
send_matrix=false

# General
group_date_pattern="+%Y-%m-%d"
file_date_pattern="+%Y-%m-%d_%H-%M-%S"
video_duration=10

# Record from RTSP (RTSP H264 must be enabled)
# RTSP is alternative for `record_video` function in `detectionOn.sh` - instead of 1s-getimage gets real video.
video_use_rtsp=true
video_rtsp_w=1280
video_rtsp_h=720
video_rtsp_f=15

# Snapshots
save_snapshot=false
save_snapshot_dir=/system/sdcard/DCIM/Motion/Stills
save_snapshot_attr="0666"
max_snapshot_days=20

# Videos
save_video=false
save_video_dir=/system/sdcard/DCIM/Motion/Videos
save_video_attr="0666"
max_video_days=10

# Configure FTP snapshots and videos
ftp_snapshot=false
ftp_video=false
ftp_host="ftp.myserver.net"
ftp_port=21
ftp_username="dafang"
ftp_password="ismart12"
ftp_stills_dir="motion/stills"
ftp_videos_dir="motion/videos"

# Configure SMB snapshots and videos
smb_snapshot=true
smb_video=false
smb_share="//Synology/smb-share"
smb_username="dafang"
smb_password="ismart12"
smb_stills_path="dafang_camera/stills"
smb_videos_path="dafang_camera/videos"
I created a SMB-share on my Synology to store the snapshots and did not see any snapshots or MQTT motion events.
Some cameras do not have enough internal memory to process the motion event. The FAQ suggests to enable swap memory.
Enabling swap memory involves another config file:
- Copy
config/swap.conf.disttoconfig/swap.conf - Modify the file
config/swap.confif you want to enable the swapfile on the microSD card. I tried it with the swapfile disabled and still received the motion events. - Copy the
config/swap.confto your microSD card. - Power-on the camera
# If you need to run many services in parallel you may want to enable swap on your camera to avoid running out of memory
# in particular on the xiaofang & clones with only 64 mb

SWAP_ZRAM=true
SWAP_ZRAM_SIZE=16777216

# in case you want to use an additional swapfile, enable it here
SWAP=false
SWAPPATH="/system/sdcard/swapfile"
SWAPSIZE=256
Static IP-address
To change the dynamic IP-address to a static IP-address the following files need to be modified:
- defaultgw.conf, set the default gateway
- resolv.conf, set the DNS servers
- staticip.conf, set the IP-address
Conclusion
After a faulty start I managed to get my Xiaomi Dafang camera working in Home Assistant.
I did an attempt to setup the RTSP stream in Synology Surveillance Station but so far no luck.
To reduce the load om Home Assistant I only use the stills (every 15 sec) and the motion detected stills. The video stream would be a constant unnecessary load on the system.
Full credits go to Elias Kotlyar and everybody who worked on the Xiaomi-Dafang-Hacks.
References
- Xiaomi Dafang Hacks - FAQ
- Xiaomi Dafang Hacks - Installation
- Gearbest - How to reset Xiaomi Xiaofang 1080P smart IP camera
- Xiaomi Dafang Hacks - Home Assistant
- Xiaomi Dafang Hacks - Synology Surveillance Station